STEP 3
A Step-By-Step Guide To Testing Your Glucose & Ketone Levels with the GK+ Meter
STEP 1
Prep your hands to avoid a contaminated test result:
• Wash your hands with warm water, then dry them thoroughly.
• Or, use an alcohol swab to sterilize the part of your finger that you will prick.
STEP 2
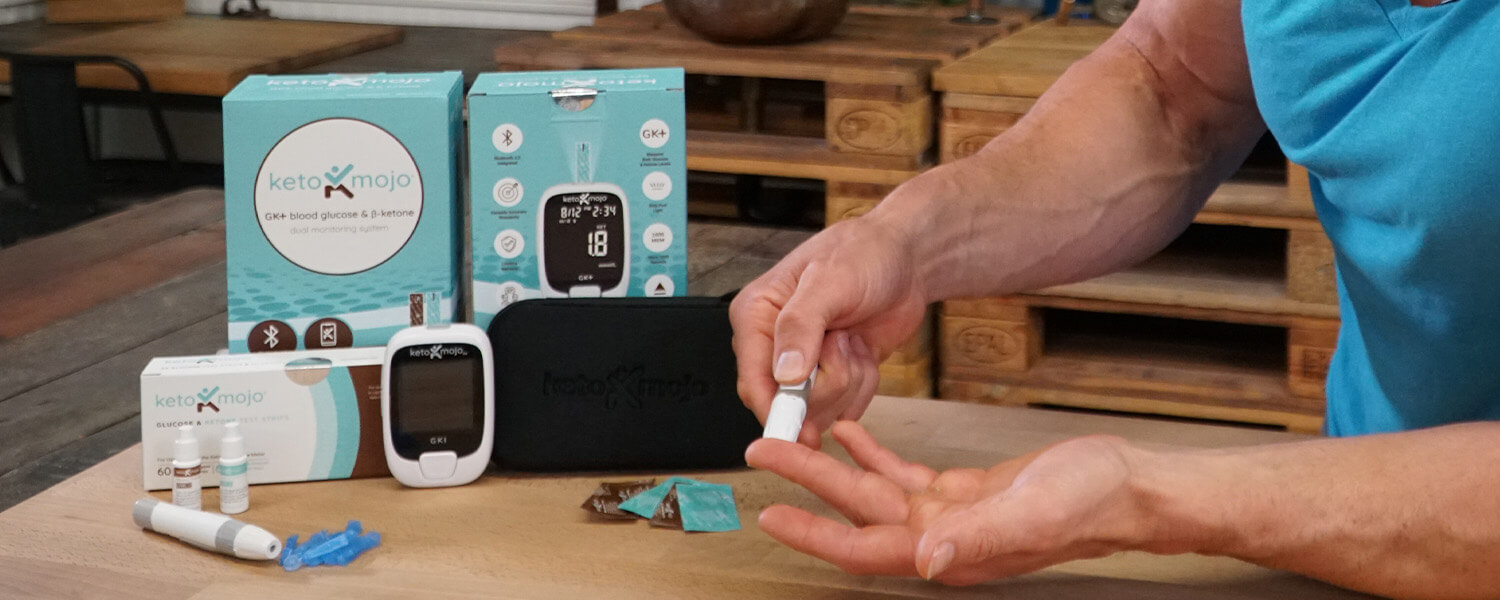
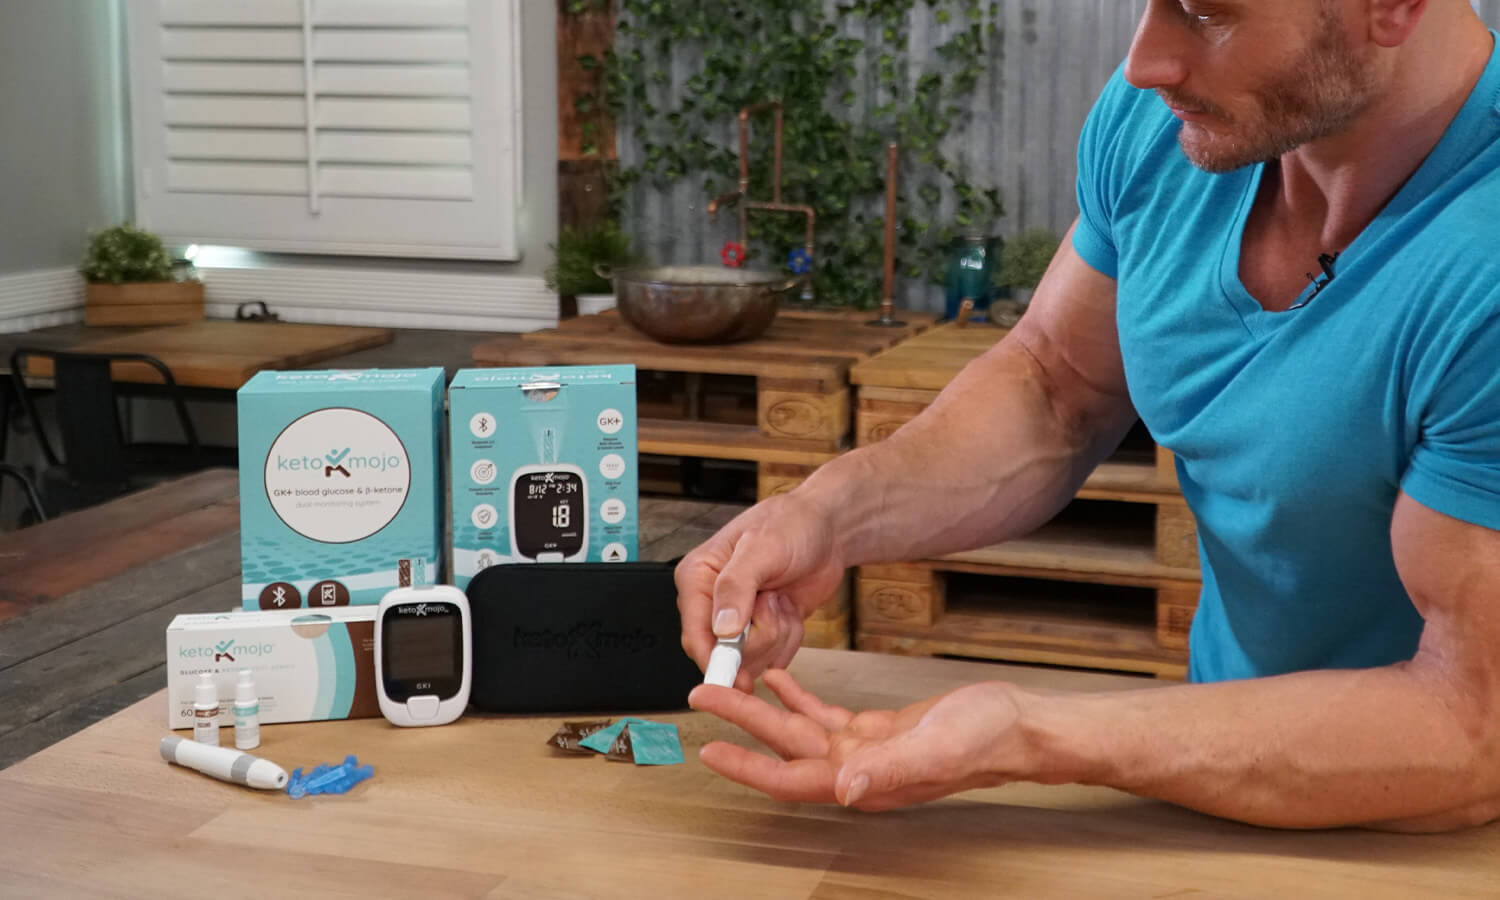
Prep your lancing device:
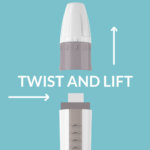
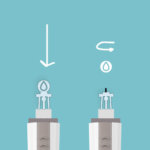
Twist off the top of the lancing device. Then take a new lancet and insert the lancet into the device. Press down firmly on the expansion gap, then twist off the plastic lancet cap and place the device cover over the lancet.
Adjust the depth selector. There are five settings for the depth of the lancet’s pierce, ranging from the lightest to deepest, to accommodate everything from soft or thin skin to thick or calloused skin. Choose the depth that you think is best for you; with experience, you’ll find the optimal depth for your skin. For average skin, we suggest starting in the middle at number 3.
Watch our quick video on preparing the lancet device.
Prep your hands to encourage better blood flow:
• Rub or massage the area to be pricked; warm hands result in better blood flow.
• Shake your hands energetically.
• Grip the finger you are going to test with your index finger and thumb of your other hand and squeeze for about 12 seconds before using the lancet. This increases hypostatic pressure.
STEP 4
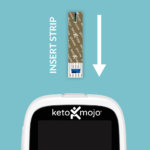
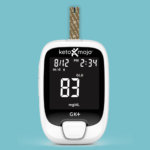
Insert a fresh, unused Keto-Mojo glucose or ketone strip into your Keto-Mojo meter:
Make sure the strip is pushed all the way down in the port. Your meter will automatically turn on when a strip is placed in the meter. We suggest starting with the glucose strip because the reading takes only five seconds (versus nine seconds for ketone readings).
DO NOT touch the top of the strip where the blood will be absorbed; otherwise, you may contaminate the sample and get an inaccurate reading.
Make sure the strip is facing up. With the strip color (blue or brown) facing you, insert the electrode end into the top of the meter. You’ll see the blood channel (a little runway) on the top of each strip when they are right side up.
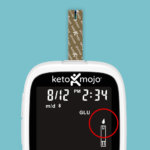
Wait for the meter to display a flashing droplet icon on the right-hand side of the meter screen. After the strip is placed into the meter, meter will display the droplet icon above an image of the strip. The icon will flash on the meter screen which signifies that the strip is now ready to accept your blood sample.
STEP 5
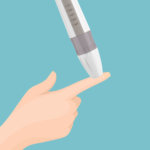
Prick your finger with the lancing device:
Test on the side of your finger where the skin tends to be softer and the prick is less painful. For men or people with calloused hands, use your ring or pinky finger. If you test regularly, alternate fingers, primarily for comfort.
Wipe away the first blood droplet with a clean paper towel or tissue to ensure a more accurate result. Sometimes you’ll get more interstitial fluid (the substance just below the skin) with the first droplet than capillary blood. Note that tissues with lotion or aloe should not be used.
Apply gentle pressure to help form a blood droplet. Avoid excessively squeezing your finger after you’ve pricked it as that can increase interstitial fluid and affect the accuracy of your results.
If you are having difficulty forming a blood droplet, you can use gravity to help by lowering your hand below hip height and gently squeezing your finger. Start at the part closest to your palm, and work your way down your finger until a blood droplet forms.
STEP 6
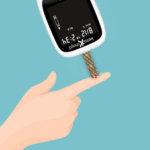
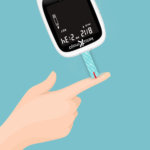
With the strip firmly in the meter, bring the tip of the strip to the droplet on your finger:
On contact, the strip will draw the blood into the blood channel via capillary action.
Do not place blood on the top of the strip (vs the tip of the strip). You’ll get an error message.
Make sure you get a good fill. If the blood sample is too small, you may get an inaccurate reading or you will get an error message. Keep the strip to the blood droplet until you see the channel is completely full with blood and the meter starts to countdown. Then remove.
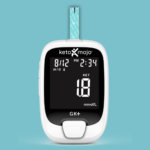
Watch the meter screen for your reading; glucose results will appear in 5 seconds and ketone readings show up in 9 seconds.
STEP 7
Testing with a second strip:
If you are testing both glucose and ketones, you can conduct the tests back to back; after your first reading displays, remove the strip and place the other strip (ketone strip, if you started with glucose) in the meter. Remember not to touch the end of the strip that receives the blood.
If you have a large enough blood droplet from your first lancet pierce, you can apply that to the tip of the ketone strip. If not, reactivate the lancing device by pulling back on the bottom and prick another sterilized area (it can be the same finger), touch the blood droplet to the end of the strip, and wait for the results.
To learn more about what your glucose and ketone readings should be, click here and here.
